CERAMIC TILE INSTALLATION IN GREATER KANSAS CITY
At Flooring and More, our professional ceramic tile installers are experts at installing your favorite styles. We confidently stand behind our work, guaranteeing exceptional customer service, on-time delivery, and outstanding workmanship on every installation.
Before Ceramic Tile Installation
Once you’ve selected the ceramic tile design and style that’s right for you, the next step is professional installation. Ceramic tile is possibly the most difficult floor and wall covering to install well. At Flooring and More, we’ve been selling and installing ceramic tile for over four decades. We ensure your ceramic tile is installed beautifully and technically correct. Prior to your ceramic tile installation with Flooring and More, you can expect the following:
- A member of our team will walk you through the entire installation process, answering any questions that you might have about the timetable and what to expect.
- You will discuss subflooring removal and waste management with your crew.
- Please ensure that children and pets are not present during installation day.
- Complete any painting that might need to be done.
- Ensure that someone 18 or older will be present on installation day.
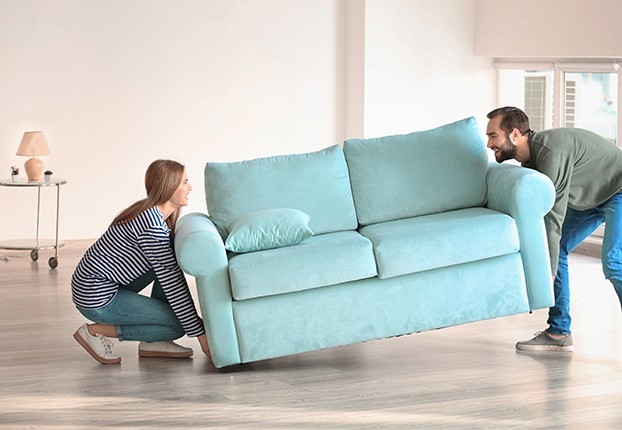
- Remove any furniture or fragile items from the room in question.
During Ceramic Tile
Installation
Expect the following during your ceramic tile installation with us:
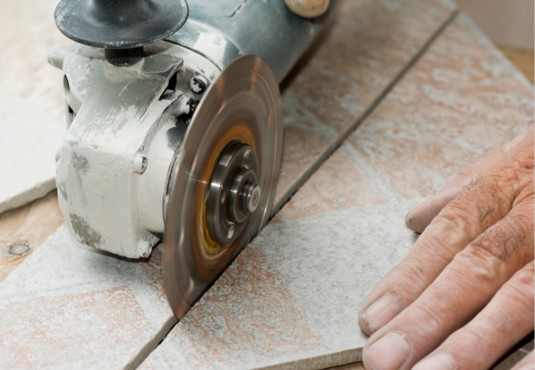
- The subflooring may need to be prepared.
- The ceramic tile installation process will involve your crew mixing the mortar and applying it to the floor using a trowel.
- From there, the ceramic tile will be laid down on the mortar. The crew will work to ensure that no gaps exist.
- The team will use spacers to ensure the proper placement of the individual ceramic tiles, finishing with the edges of your floors.
- From there, the installation will end with grouting, sealing, and cleanup!
After Ceramic Tile
Installation
After we complete your ceramic tile installation, you can expect the following:
- We will complete a final walkthrough where you can ask any questions that you might have.
- You should run a fan to remove any installation-related smells.
- Allow your floors and the materials to settle before walking across your ceramic tile flooring.
- Stay in touch with our team with any questions about your ceramic tile flooring.